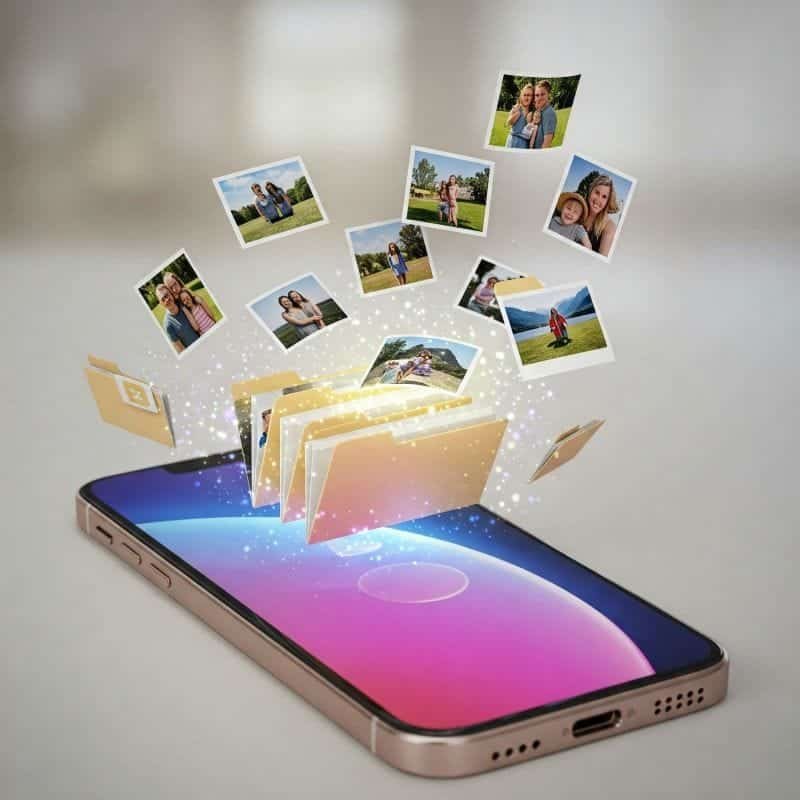
We all have a lot of photos on our phone but how many of us have them organized? I’m a bit of a “type A” personality and love things organized but who has time to organize thousands of photos? So how do you organize photos on iPhone? What if I told you it’s simpler than you think?
To keep things easy, I’m breaking this into two posts. In Part 1, I’ll show you how Custom Albums, Smart Albums, and Shared Albums can help you take control of photos on iPhone. Then in Part 2, I’ll dive into how iPhone’s search and sorting features can be a game changer. Plus how a few editing tricks can make finding and organizing your photos a breeze.
Photos App Changes in iOS 26
In iOS 26, Apple reorganized the Photos app. To follow the steps below, make sure you’re viewing your photos in Collections. Once you’re there, the organization tools work the same way as before.
Want a full breakdown of iOS 26 changes? Check out: iOS 26: What Changed and Why It Feels So Different
Using Albums to Organize Photos on iPhone
When it comes to organizing your photos on iPhone, albums make all the difference. I’ll break this down into three different types of albums: Custom Albums, Smart Albums, and Shared Albums. Each has a different purpose, helping you sort, find, and share your favorite pics.
Custom Albums let you create your own albums to organize photos exactly how you like. While Smart Albums use AI to automatically group your photos based on people, places, or events, which is a huge time saver. And then Shared Albums, which make it easy to share specific photos with friends and family without flooding their messages.
By using a mix of these different types of albums, you can keep your photo library neat, accessible, and stress-free! Let’s take a closer look at how each one works.
Custom Albums: Organizing More Than Just Memories
Let’s start with how we think about organizing photos. We often focus on vacation pics, family events, or our adored pets. I know my camera roll has more pics of my dog Willow than anything else. But seriously, our iPhones hold so much more than that. We take photos of important documents, we take screenshots of recipes, shopping lists, and even funny memes we want to share with family and friends. With all these random pics floating around, our camera roll can quickly turn into a digital junk drawer. That’s where Custom Albums come in.
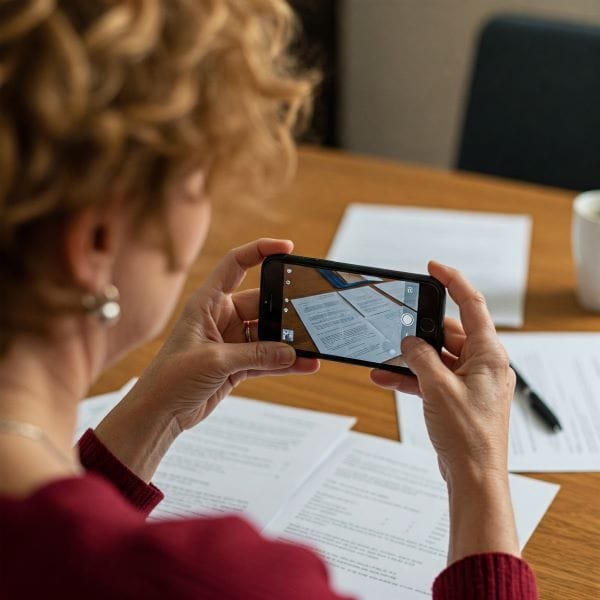
Creating your own custom albums helps you to keep everything in its place, making it easier to find what you need when you need it. Here are a few ideas for organizing beyond just people and places.
- Recipes & Meal Ideas – If you’re constantly screenshotting recipes or taking photos from cookbooks, create an album just for food inspiration.
- Shopping & Wishlist – Save pictures of products, outfits, or home decor ideas so you can reference them later when you’re shopping.
- Screenshots & How-To Guides – If you take a lot of screenshots of instructions, QR codes, or tech troubleshooting tips, (hopefully these are from MY blog, LOL) grouping them in a separate album keeps your main photo feed clutter-free.
- Inspirational Content – Whether it’s quotes, design ideas, or workout routines, an album dedicated to motivation makes it easy to revisit when you need a boost.
- Documents – Store photos of insurance cards, receipts, or signed paperwork in one easy-to-access album. If you want to store pics of sensitive documents or IDs I would suggest you use the built in Hidden Album. To learn more about the Hidden album you’ll want to read my post, iPhone Secret Tricks No One Talks About: 4 Features You’ll Love
Using Folders to Organize Albums
If you really love keeping things tidy, you’re going to appreciate the New Folder option. This feature helps you take photo organization to the next level. Instead of just creating albums, you can group multiple albums into folders, making it easier to manage different types of photos without cluttering your main album list. You can have a travel folder and within that folder are all your albums from your travels. You can even have folders within folders. I know, I’m getting carried away right?
How to Create an Album or New Folder
- Open the Photos app.
- Scroll down to the bottom of the screen, Tap Albums
- Tap Create button in the top left corner and select New Album or New Folder
- Name your album or folder (e.g., “Recipes” or “Important Docs”).
- Tap Add Photos or Add Albums button.
- Select the photos or albums you want to add, then tap Create.
Smart Albums: Simplicity At It’s Finest
Now, let’s talk about Smart Albums. Apple uses AI to automatically organize photos on iPhone into albums based on a specific criteria. These albums group your pictures by categories like selfies, screenshots, or even people and pets, so you can quickly access photos without having to manually create albums.
In this section, we’ll explore how you can use these smart albums to your advantage to organize photos on your iPhone.
People & Pets: Smart Album Made Smarter
The People & Pets album in the Photos app uses facial recognition and AI to automatically group photos on iPhone based on the people and pets in them. Instead of manually sorting through thousands of pictures, your iPhone does the work for you by identifying faces and organizing them into individual profiles.
I know what you’re thinking, if my photos on iPhone are organized for me then why add this to your post about organizing photos. Unfortunately there is a little work you’ll want to do to make this smart album even smarter.
When you take photos of friends, family, or pets, your iPhone scans the images, detects faces, and clusters similar ones together but your iPhone isn’t perfect. You’ll want to go through this smart album and make a few tweaks to ensure this album performs better over time.
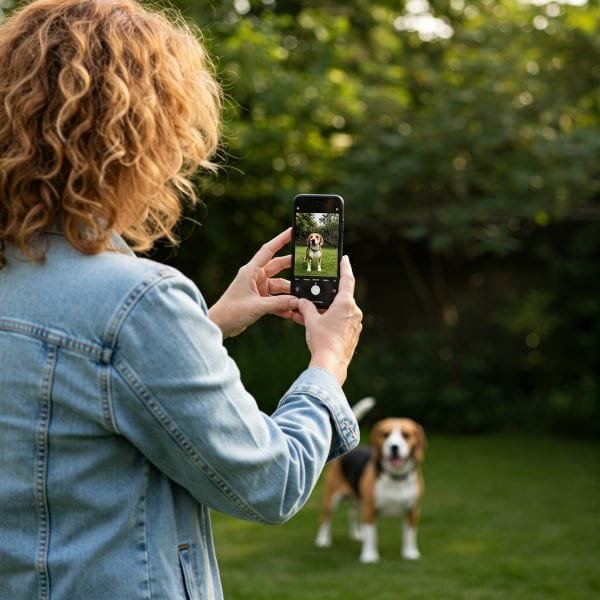
Improve People & Pets Album
The following steps will help you to improve the accuracy of this smart album.
- Open the Photos app.
- Scroll down to the People & Pets section and tap People & Pets.
- Tap on a person’s or pets face.
- In the middle of the screen, tap Name This Person.
- Enter the person’s name (or select from your contacts).
Now, whenever your iPhone recognizes this person in a photo, it will automatically group them under their assigned name.
Merge Duplicate Faces
Sometimes, your iPhone may recognize the same person as multiple entries. To merge them:
- Open the Photo app.
- Scroll down and tap People & Pets album.
- Tap Select button in the top-right corner.
- Tap on the faces you want to merge. You can select multiple faces at one time.
- Tap on the (…) button at the bottom of the screen.
- Tap Merge.
Improve Face Recognition
If your iPhone has trouble recognizing a person in some photos follow these steps to help improve face recognition.
- Open the Photo app.
- Select a photo or video that the person or pet is in.
- Swipe up on the bottom of the photo or tap the info icon (i) to see the details.
- At the bottom of the picture there will be a small circle of each persons face in the photo. (Unnamed people or pets will have a question mark.)
- Tap on the face of the person.
- Select, Edit Name and Photos.
- Tap Review Photos Identified as [Persons Name]
- Tap, Review More Photos
- Answer prompts , This is [Persons name] or Not [Persons Name]
- Tap Done.
Set a Key Photo for a Person or Pet
You may want to change the photo that appears for people. To customize the profile photo in the People & Pets album:
- Open the Photos app.
- Open the People album and tap on a person
- Swipe up on the bottom of the photo or tap the info icon (i) to see the details.
- At the bottom of the picture there will be a small circle of each persons face in the photo.
- Tap on the face of the person.
- Select Make Key Photo.
- Tap Done.
Groups within People & Pets
The Photos app is smart enough to notice when certain people or pets show up together a lot in your pictures and videos. It automatically creates group collections based on these familiar faces. So, if you take a ton of photos of your family or a close group of friends, the app will organize them into their own special group—making it even easier to find and relive those memories!
Hide or Unhide People from People & Pets
Sometimes, you may want to hide a person from the People & Pets album, maybe to declutter it or just to keep certain faces out of sight. Here’s how you can hide or remove people from the album while keeping your photos intact.
How to Hide a Person in the People Album
- Open the Photos app.
- Scroll down to the People & Pets Album.
- Tap the person you want to hide.
- Tap the three-dot menu (•••) in the top-right corner.
- Select Hide This Person.
- Confirm by tapping Hide from People and Pets Album.
💡 Note: The photos of this person will still exist in your library, but they won’t show up in the People & Pets album unless you unhide them.
If you change your mind, you can bring them back to the People & Pets album easily:
How to Unhide a Person in the People Album
- Open the Photos app.
- Tap the Albums tab and scroll down to People & Pets.
- Scroll to the bottom and tap Add People.
- Select the person you want to restore.
- Tap Unhide.
Shared Albums: Organizing You & Others
And finally we will look at Shared Albums. Share albums are a great way to keep photos on iPhone organized, especially when collaborating with family and friends. Instead of cluttering your personal photo library with duplicate images or sending photos back and forth, you can create a Shared Album where multiple people can add, view, and comment on pictures all in one place. Here are a few ways that Shared Albums can improve organization of photos on iPhone.
Keep Group Events in One Place – Whether it’s a vacation, wedding, or family gathering, Shared Albums allow everyone to contribute their photos so you don’t have to track them down later.
Organize by Topic or Theme – You can create albums for different categories, such as recipes, home improvement projects, or work-related images, and share them with those who need access.
Save Space on Your Device – Shared Albums store photos in iCloud, so they don’t take up space in your main library unless you choose to download them. For more information you may want to read my post on How To Make iCloud Work For You.
Easy Collaboration – Friends and family can add photos in real time, react with likes, and even leave comments, making it an interactive way to organize memories together.
iCloud Requirements for Shared Albums
To create a Shared Album you need to make sure Shared Albums is turned on in iCloud.
Go to Settings > [Your Name] > Photos. Scroll to the bottom and turn on Shared Albums.
How To Create a Shared Album
- Open the Photos app.
- Scroll down to the bottom of the screen, Tap Albums
- Select Shared Tab on the top of the screen.
- Tap Create
- Name your album.
- Tap Add Photos.
- Select photos then tap Create.
How to Add or Remove People to a Shared Album
- From the Shared Album you created above, tap (…) icon in upper right hand corner.
- Tap, Shared Album Details.
- Participants:
- Select the + Invite to add someone from your contact list.
- Or select a Participant and scroll to the bottom, tap Remove Subscriber.
By using Shared Albums, you can keep your photos on iPhone neatly organized while making it easier to share and relive moments with others.
Bringing It All Together: Organizing Photos on iPhone
You can now see that keeping photos on iPhone organized doesn’t have to be overwhelming. With a mix of Custom Albums, Smart Albums, and Shared Albums, you can take control of your photo library that works best for you. Custom albums help you categorize everything from your family photos to important documents, while Smart Albums automatically sort images in your People & Pets album with the help of AI. Using Shared albums makes collaboration easy, allowing you to collect and organize memories with friends and family in one place. A little effort goes a long way in keeping your photo collection neat, accessible, and easy to find the photos you want.
If you found this post helpful let me know by leaving me a comment below or sending me an email.
In Part 2, I show you how to organize iPhone photos using search, sorting, and even a few simple editing tricks to make finding your photos easier. You can read that here: How to Organize iPhone Photos: Simple Tips Part 2
Make Your Photos Shine Before You Organize
Before you start organizing, it helps to make sure your photos look their best! My iPhone Photo Tips series covers everything from lighting and framing to Portrait mode and editing. A few simple tweaks can make a big difference before you store them away.
Here’s a list of the full series:
iPhone Photo Tip #1: Natural Light for Brighter, Better Shots
iPhone Photo Tip #2: Great Low-Light Photos
iPhone Photo Tip #3: Use the Grid for Better Framing
iPhone Photo Tip #4: Lock Focus and Brightness for Better Photos
iPhone Photo Tip #5: Make Photos Stand Out with Portrait Mode
iPhone Photo Tip #6: Get the Full Picture with Pano Mode
iPhone Photo Tip #7: Use the Timer for Better Photos
iPhone Photo Tip #8: Make Your Photos Great with Editing
Follow me on Facebook so you never miss a new post or sign up for my newsletter.

Gail Kerr
IT Professional and Technical WriterTechnology has been a part of my life for as long as I can remember. I have over 27 years of experience providing computer support in large corporations and small businesses. I went back to school in 2009 to get an Associate Certificate in Technical Writing so I could take my love of tech and become proficient at writing clear and easy to understand documents for people of all levels. I’ve become the go to person for family and friends whenever they have tech questions or challenges.

