I’m usually more interested in capturing the moment than making sure every photo is perfect. Most of the time, I simply open the Camera app, snap a picture, and move on. Whether it’s Willow doing something cute, a beautiful view on vacation, or family gathered together, I don’t want to miss the moment while I’m fiddling with camera settings.
That’s probably why I ignored one of the iPhone’s built-in camera features for so long. Every now and then, I’d accidentally hold my finger on the screen a little too long and see AE/AF Lock appear. I knew it was there, but I never really used it or thought much about what it did.
In Tip 4 of my “How to Take Better Photos with Your iPhone” series, I finally took the time to learn how AE/AF Lock works. I still don’t use it every day. I usually take the quick photo first and enjoy the moment. But when I have a few extra seconds, I’ll go back and try it again just to see the difference.
👈If you missed iPhone Photo Tip #3: Use the Grid for Better Framing
What Exactly Is AE/AF Lock?
Your iPhone is constantly making decisions every time you take a photo. It’s deciding what should be in focus and how bright the picture should be, and most of the time it does a great job.
But there are times when you’d rather make those decisions yourself.
If you’ve ever held your finger on the Camera screen and seen AE/AF Lock appear, you might have wondered what it means. I know I did.
AE stands for Auto Exposure, which controls how bright or dark your photo looks. AF stands for Auto Focus, which decides what your iPhone focuses on. Not to worry though, you don’t need to remember those names. What matters is that AE/AF Lock tells your iPhone to stop making those adjustments and keep the focus and brightness exactly where you want them until you take the picture.
Think of it as taking the wheel for a moment. Your iPhone is still doing all the hard work—you’ve just told it, “I’ve got this.”
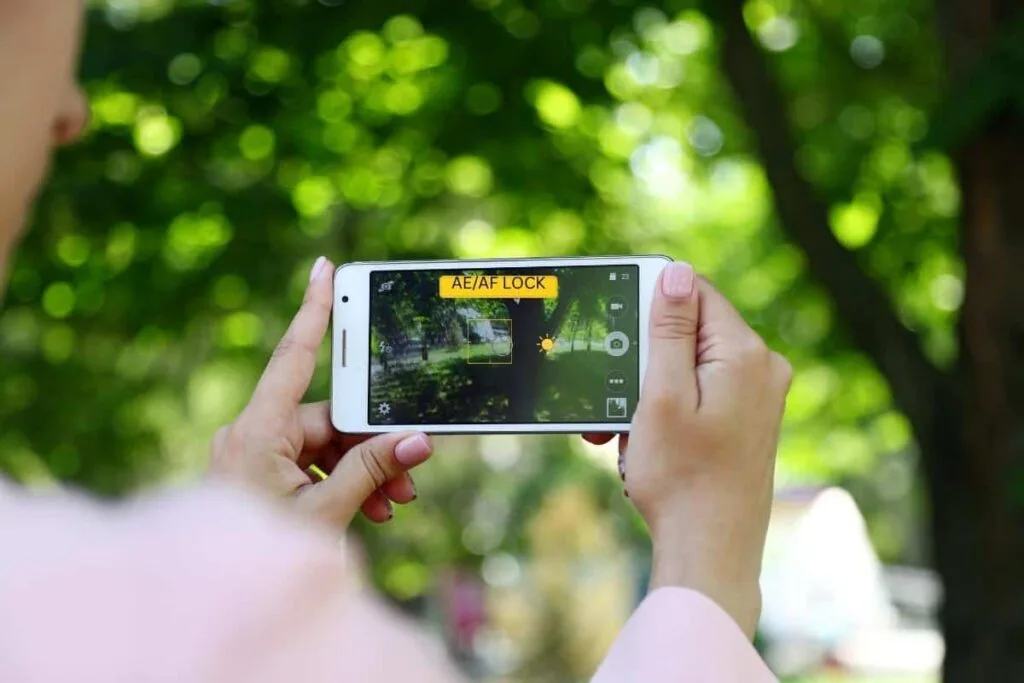
Here’s When You’ll Notice the Difference
The truth is, I don’t use AE/AF Lock every time I take a photo. Most of the time, I simply open the Camera app, capture the moment, and let my iPhone do the work.
But there are times when it’s worth taking a second photo and experimenting with AE/AF Lock.
I’ve found it especially helpful when there’s a lot going on in the picture. Maybe you’re taking a close-up of a flower, but there are branches or leaves behind it competing for your iPhone’s attention. Or you’re photographing someone standing near a bright window, and the focus or brightness keeps changing as you move the camera slightly.
It’s also handy when you’re taking several photos of the same scene and want them to look more consistent instead of having the focus or brightness change from one shot to the next.
My advice? Capture the moment first. If it’s a memory you don’t want to miss, don’t worry about using every camera feature. But if your subject isn’t going anywhere—a flower in the garden, a beautiful view, or even a favourite decoration while you’re travelling—take another photo and try AE/AF Lock. You might be surprised by the difference.
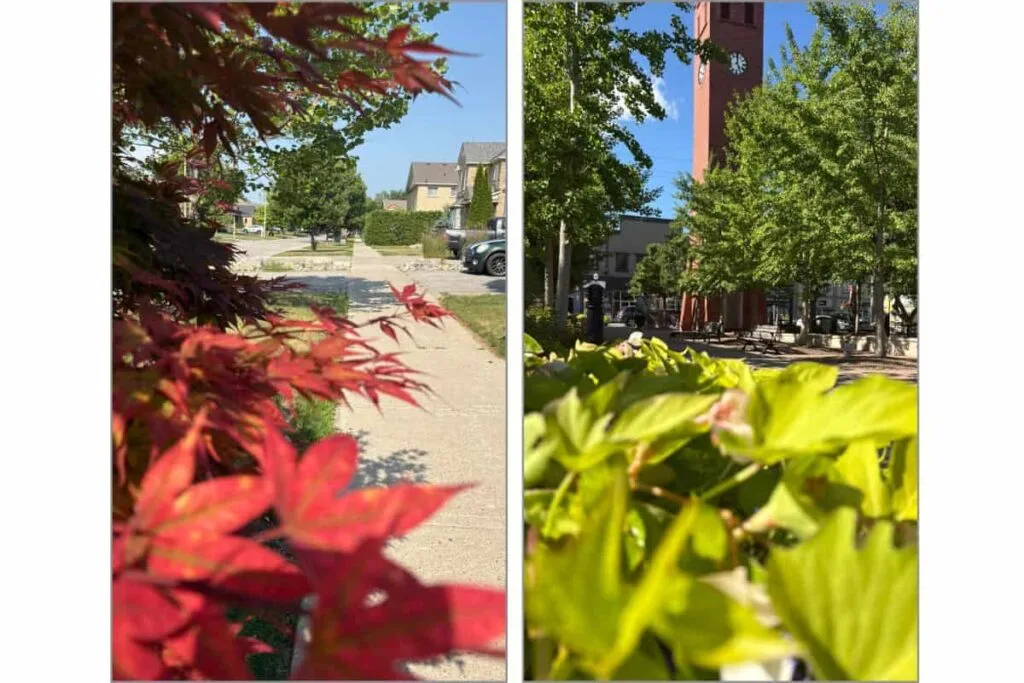
So, How Do You Lock Focus and Brightness?
As I had mentioned, I didn’t actually use this feature for a long time, even though I kept running into it. Every now and then I’d see AE/AF Lock pop up on my screen and think, “I should probably figure out what that does,” and then just keep taking photos like normal.
It turns out it’s very simple.
You open the Camera app and frame your shot like you normally would. Then, instead of just tapping the screen, you press and hold on the part of the image you want to stay in focus.
After a second or two, you’ll see AE/AF Lock appear at the top of the screen. That’s your iPhone telling you the focus and brightness are now locked in place.
From there, just take your photo as usual. Even if you move the phone slightly, your iPhone won’t suddenly shift focus or change the brightness on you.
When you’re done, tap anywhere on the screen to turn it off and go back to normal.
That’s really all there is to it.
Most of the time, I still just open the camera and snap the photo without thinking twice. But when I want a little more control, this is one of those simple tricks I’ll use without overthinking it.
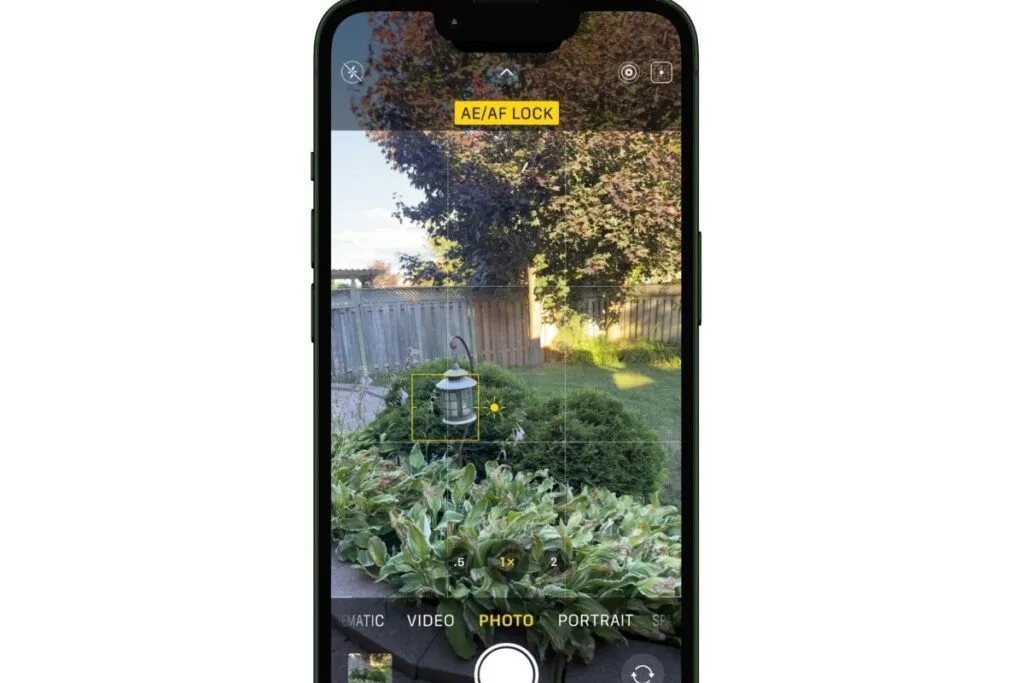
Flip the Focus and See What Happens
This is the part of AE/AF Lock that I ended up having the most fun with.
Instead of always locking onto the main subject, I’ll try it on something in the foreground first. Then I’ll take the photo and switch it up by locking onto something in the background instead.
Nothing else changes — same spot, same moment — just where the iPhone is paying attention.
Once I started using it, I found myself experimenting more and more just to see how different the same scene could look depending on where I locked the focus.
And it’s surprising how different the photos can feel. One version brings your attention right up close. The other pulls your eye deeper into the background.
It’s a simple thing, but once you try it, you’ll usually end up taking a few more shots just to compare them.
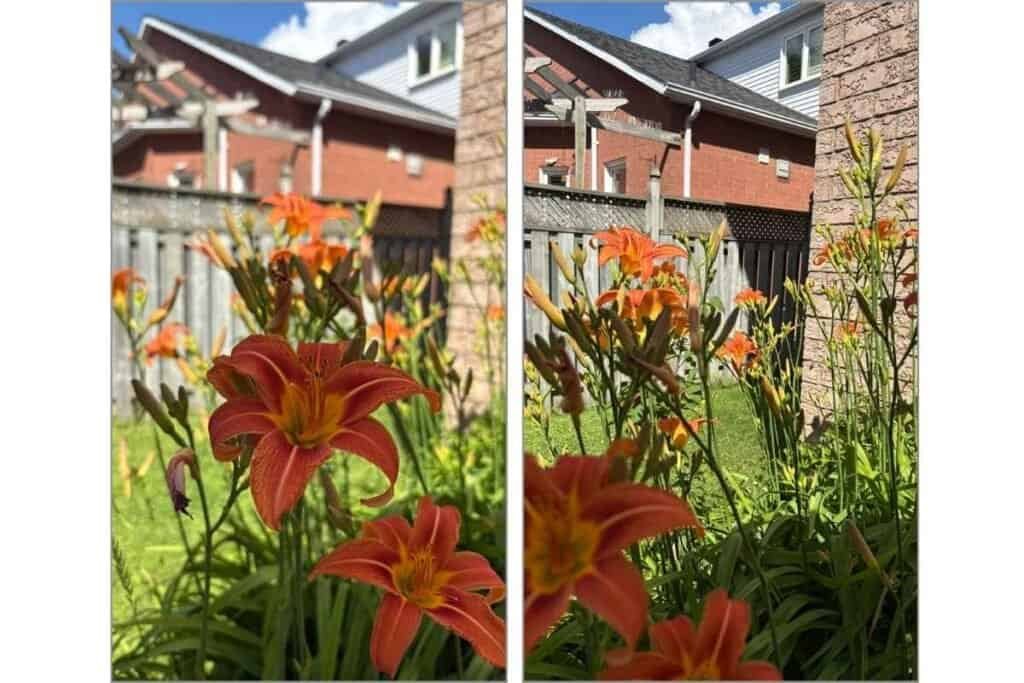
Try It Yourself
Have some fun with this one and just experiment with AE/AF Lock.
Start with something simple — a flower, a cup of coffee, or anything where you have a second to pause. Take one photo like you normally would, then try it again using AE/AF Lock. You can use it to lock the brightness, or to lock the focus, and just see what changes.
Once you see what it can do, you may start noticing little moments in your everyday photos where it comes in handy.
But don’t let that get in the way of the moment — capture the photo first, and then play around if you have the time.
What’s Next
Now that you’ve tried locking focus and brightness, you’ve got another simple trick you can use when your iPhone needs a little help deciding what to focus on or how to handle the lighting.
Next time, we’re going to take a look at Portrait Mode—and not just for people. You might be surprised at how often you can use it with everyday photos once you start experimenting with it.
👉What’s next? iPhone Photo Tip #5: Make Photos Stand Out with Portrait Mode
👈If you missed Tip #3: Use the Grid for Better Framing

Gail Kerr
IT Professional and Technical WriterTechnology has been part of my life for as long as I can remember. With over 28 years of experience providing computer support in both large corporations and small businesses, I’ve seen just about everything. In 2009, I went back to school to earn an Associate Certificate in Technical Writing—combining my love of tech with a passion for clear, easy-to-understand communication. Now, I help people of all levels feel more confident with their devices. I’ve also become the go-to person for friends and family whenever a tech question or challenge comes up.