I don’t know about you, but whenever I want to be in the photo, my first instinct is to take a selfie.
It’s funny how quickly I settle into habits. Selfies are quick, easy, and most of the time they do exactly what I need them to do. So of course, that’s the first thing I reach for.
But sometimes a selfie just isn’t the photo I want to take. Maybe I’m trying to include a group of people, or maybe I want a photo that feels a little more natural. I don’t want anyone left out, and I don’t want someone stuck behind the camera either.
That’s when I remember the Timer on my iPhone. It gives me another way to capture the moment and make sure everyone—including me—is part of the picture.
👈 If you missed: iPhone Photo Tip #6: Get the Full Picture with Pano Mode
Affiliate Disclosure: This post contains affiliate links. If you click through and make a purchase, I may earn a small commission at no extra cost to you. I only share products I think could be helpful to you.
Beyond the Selfie
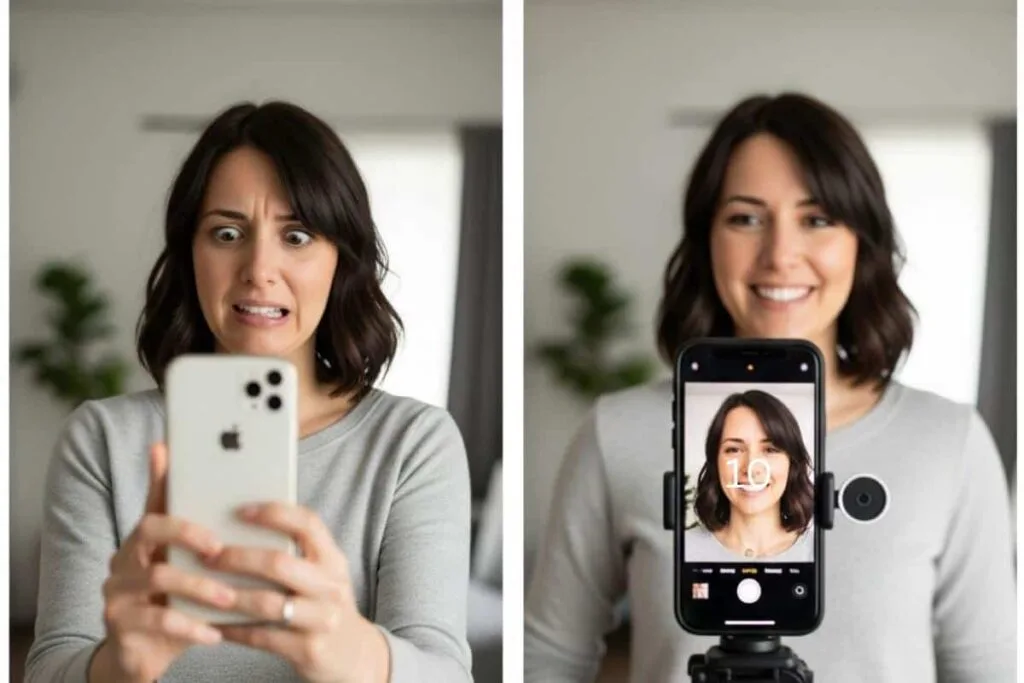
Don’t get me wrong—I still take plenty of selfies. They’re quick, easy, and perfect for a lot of situations. But sometimes I want my hands free.
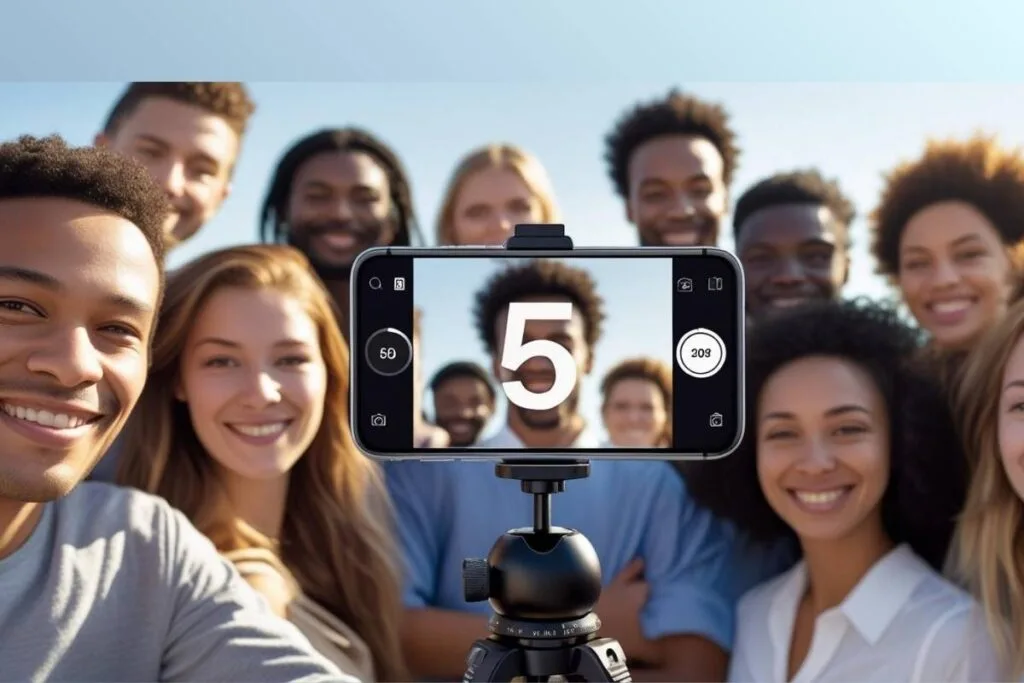
When I use the Timer, I can prop my iPhone against almost anything or use my small tripod, then step into the frame. I’m not trying to hold the phone at arm’s length or worry about whether everyone fits into the picture. Instead, I can put my arm around someone, hold Willow’s leash, or simply stand naturally while my iPhone takes the photo.
That’s what I like most about using the Timer. It gives me more flexibility and a little more control over how the photo turns out. Whether I’m taking a family photo, capturing a beautiful view on vacation, or snapping a picture with Willow, I can focus on enjoying the moment instead of holding my phone.
Getting Comfortable with the Timer
The first time I used the Timer, I wasn’t quite sure where to find it. Like many iPhone features, it’s easy to miss if you don’t already know where to look.
The Timer is found inside the Camera app, but where it appears depends on your iOS version. On iOS 18, you can find it by tapping the arrow at the top of the screen to reveal more camera controls. On iOS 26, tap the tools icon in the upper right hand corner to see the timer option.
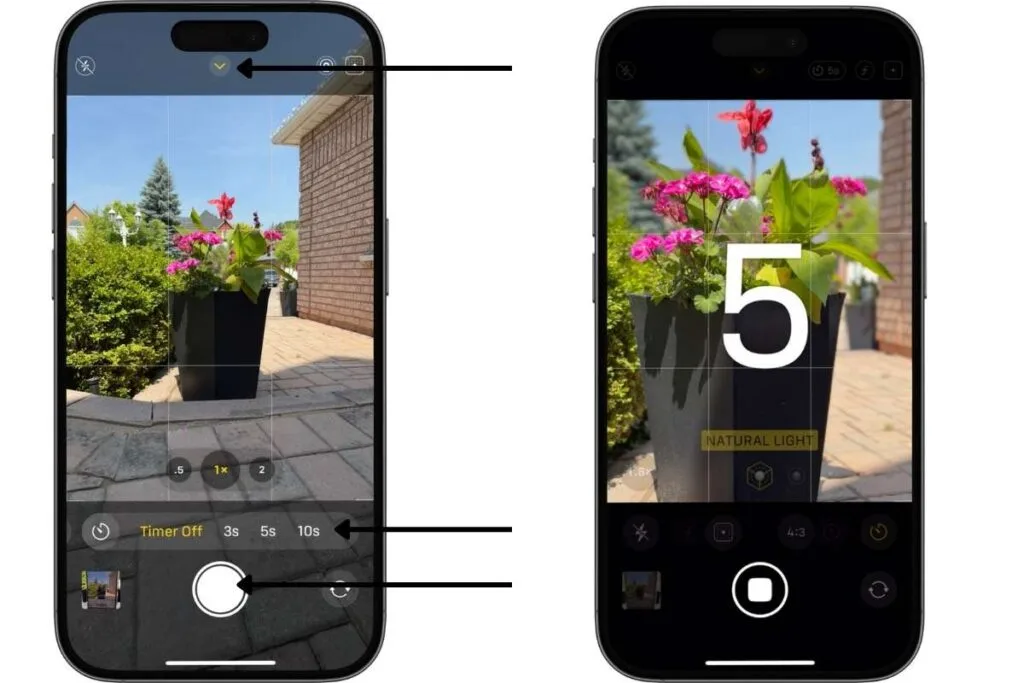
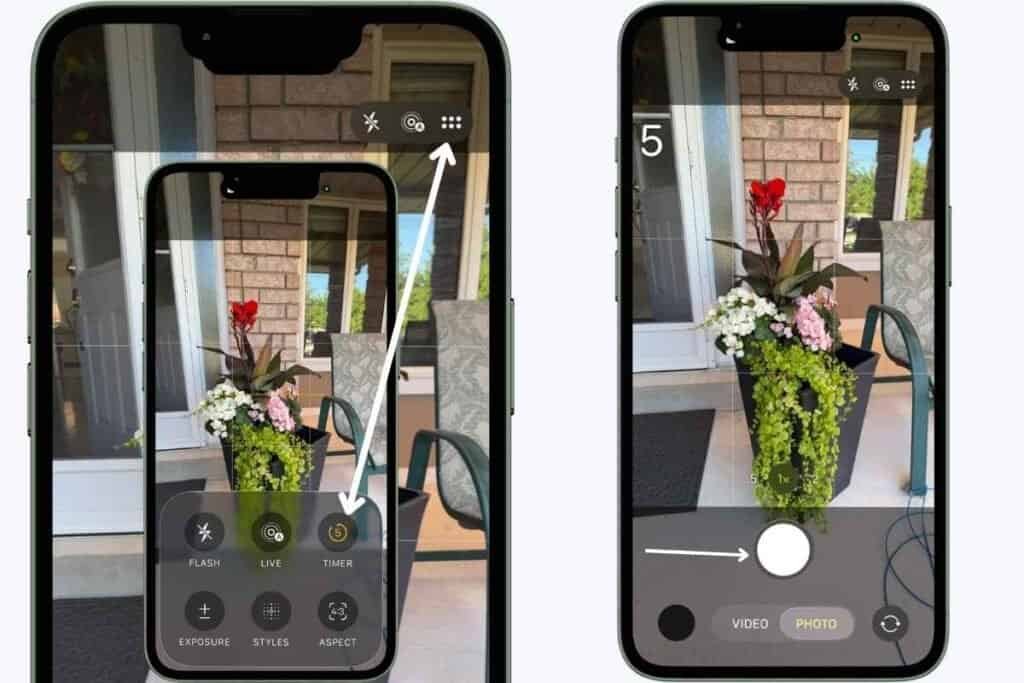
Once you open the Timer, the rest is simple. Tap the Timer button and choose your countdown. You can select 3 seconds, 5 seconds, or 10 seconds depending on how much time you need to get into position. Then press the shutter button, set your iPhone down, and step into the frame.
After trying it a few times, the Timer starts to feel much less intimidating. That’s when you begin to notice all the different situations where it can be useful.
Ways I’ve Used the Timer
When I first started using the Timer, I mostly thought of it as a way to get everyone into a group photo. But the more I used it, the more I realized it opened up other possibilities too.
Photos With a More Natural Feel
One of the things I like about the Timer is that it lets me step away from holding my phone. I can set up the shot, put my iPhone down, and actually be part of the moment instead of worrying about keeping my arm in the right position.
This is especially helpful for photos with family, friends, or Willow. Instead of trying to stretch my arm out or squeeze everyone into a selfie, I can set up my iPhone and step into the frame.
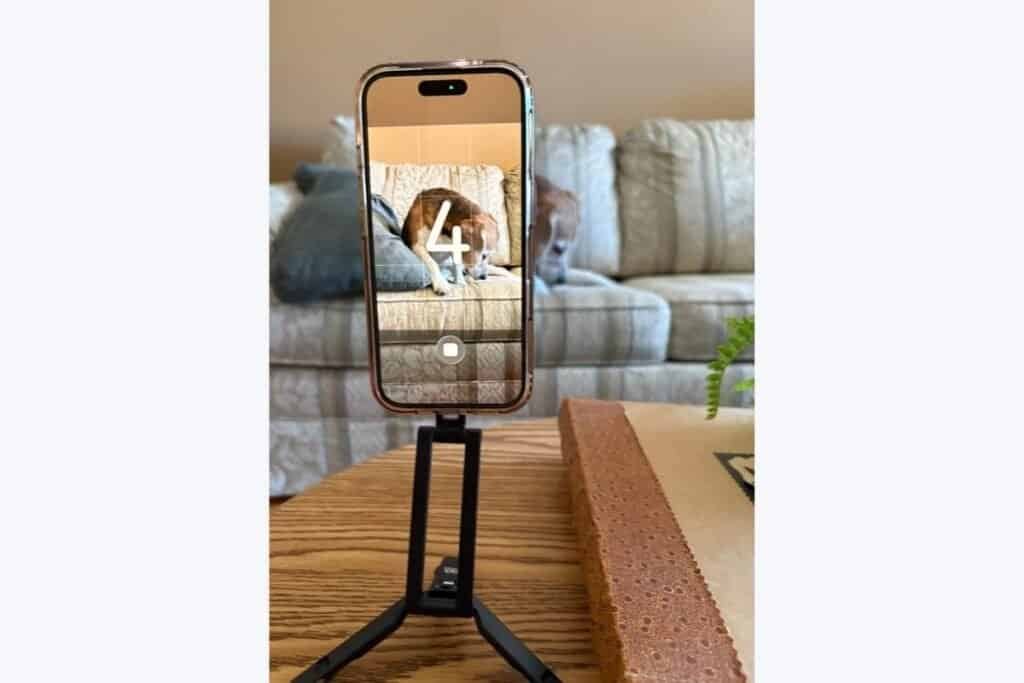
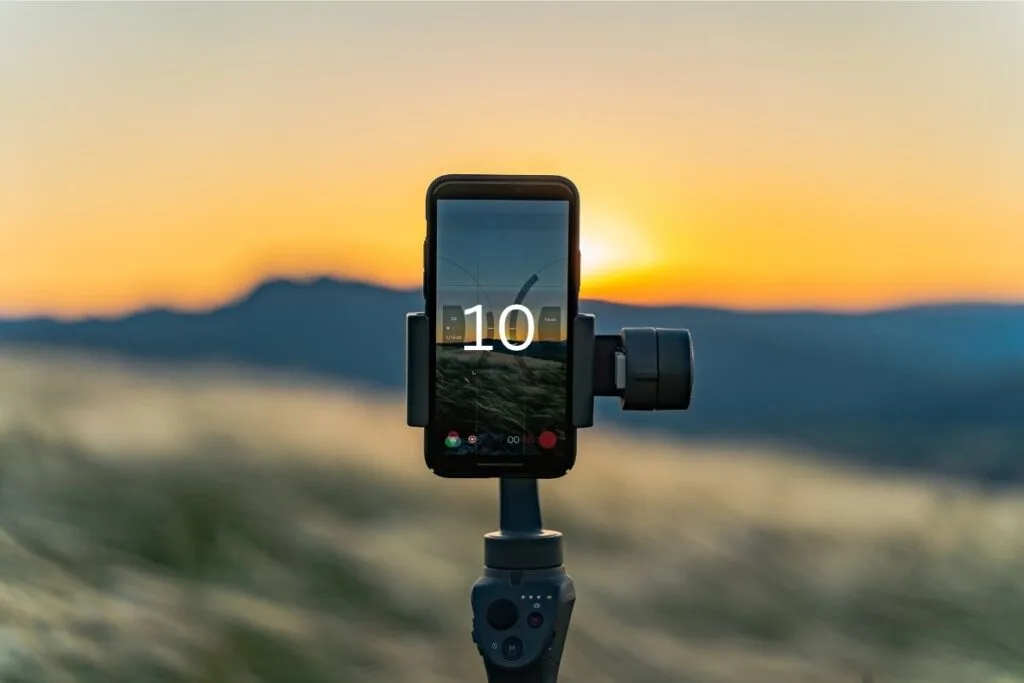
You don’t need a tripod to use the Timer. I’ve taken plenty of photos by simply propping my iPhone against a stable surface. But when I want more flexibility with the height or angle of my photo, a small phone tripod makes it much easier.
I have a compact phone tripod that I use for hands-free photos, and it’s one of those accessories I find myself reaching for more often than I expected. It gives me a stable place to position my iPhone and makes it easier to adjust the shot before stepping into the frame.
This is the tripod I use and recommend. It’s doubles as a great selfie stick too.
Using Portrait Mode With the Timer
One of my favorite discoveries is that the Timer works with other camera features too. For example, you can use Portrait Mode and the Timer together.
This means you can set up a more intentional photo, step into the frame, and still get the blurred background effect that helps your subject stand out. It’s a great option for a profile photo, a photo with a pet, or any time you want a photo that feels a little more polished.
👈If you missed iPhone Photo Tip #5: Make Photos Stand Out with Portrait Mode
Taking Photos of Yourself
The Timer is also a great option when you want a new profile photo or a photo of yourself but don’t have someone available to take it.
Instead of relying only on a selfie, you can place your iPhone where you want it, adjust the angle, and take a few different photos until you find one you like.
The more I use the Timer, the more I realize it’s not just about getting everyone into a group photo. It’s another way to take photos that would be difficult to capture when I’m holding my iPhone.
Try It Yourself
The next time you want to be in a photo, try reaching for the Timer before automatically taking a selfie.
Set your iPhone somewhere stable, step into the frame, and experiment. Try a photo with family, friends, your pet, or even just yourself. You may be surprised by how much easier it is to capture a photo when you aren’t holding the phone.
Sometimes the best photos happen when you stop worrying about holding the camera and simply become part of the moment.
What’s Next?
The Timer is one of those iPhone features that’s easy to overlook until you need it. But once you start using it, you realize it’s about more than just a countdown. It frees up your hands so you can step into the photo, interact naturally with the people you’re with, and be part of the memories you’re capturing.
In the final article of this series, we’ll look at one last tip that can make a big difference—using the built-in editing tools on your iPhone to bring out the best in the photos you’ve already taken.
👉What’s next? iPhone Photo Tip #8: Make Your Photos Great with Editing
👈 If you missed: iPhone Photo Tip #6: Get the Full Picture with Pano Mode

Gail Kerr
IT Professional and Technical WriterTechnology has been part of my life for as long as I can remember. With over 27 years of experience providing computer support in both large corporations and small businesses, I’ve seen just about everything. In 2009, I went back to school to earn an Associate Certificate in Technical Writing—combining my love of tech with a passion for clear, easy-to-understand communication. Now, I help people of all levels feel more confident with their devices. I’ve also become the go-to person for friends and family whenever a tech question or challenge comes up.