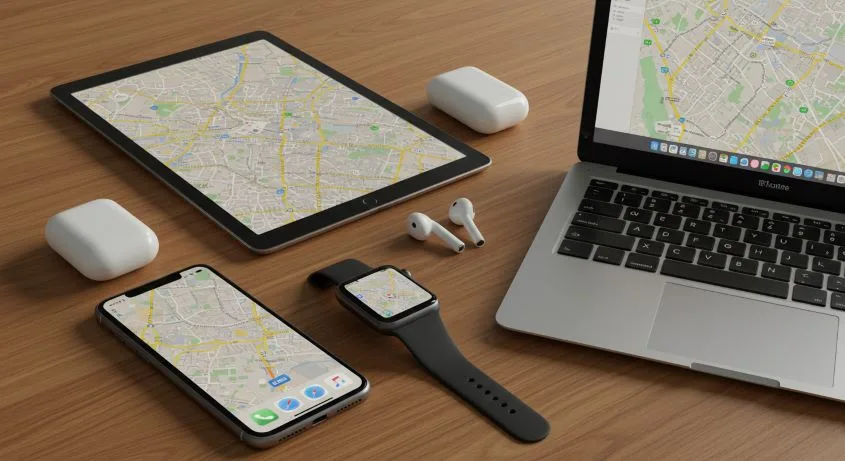
Ever fumbled for your wallet at the checkout or wished you could just tap and go? That’s where Apple Pay comes in. Most people know it works on their iPhone, but did you know your Apple Watch can pay for you too—even if your iPhone isn’t nearby?
In this guide, I’ll show you how to set up Apple Pay on both your iPhone and Apple Watch. You’ll learn the step-by-step process, why using your watch can be a real game-changer, and tips to pay safely and effortlessly.
- What Is Apple Pay and Why Use It?
- Why Your Apple Watch Makes Apple Pay Even Better
- What You Need Before Setting Up Apple Pay
- How to Set Up Apple Pay on iPhone
- How to Set Up Apple Pay on Apple Watch
- How to Use Apple Pay In Stores, Apps, and Online
- Tips for Using Apple Pay Safely
- Troubleshooting Apple Pay Setup
- Final Thoughts
What Is Apple Pay and Why Use It?
Before we get into the “how,” let’s quickly talk about the “why.”
Apple Pay is Apple’s version of a digital wallet. Instead of carrying your physical debit or credit cards everywhere, you store them securely on your iPhone and Apple Watch. When it’s time to pay, you just use your device—no card swiping, no typing numbers online, no handing over your card to a cashier.
And here’s the best part: your actual card number isn’t shared with stores. Apple Pay uses a special encrypted number just for that transaction. That means it’s safer than using your physical card.
If you want learn more about how safe Apple Pay is check out my post, Is Apple Pay Safe? What You Need to Know Before You Tap.
Why Your Apple Watch Makes Apple Pay Even Better
Most people know Apple Pay works on the iPhone, but here’s the part that surprised even me, your Apple Watch can handle payments even when your iPhone isn’t nearby, and it doesn’t need Wi-Fi or cellular data to work. Seriously, it’s a game-changer. Whether you’re out for a quick coffee, running errands, or going for a jog, your wrist can pay for you—hands-free.
Think of it like this: your Apple Watch is your secret little wallet that’s always with you. You don’t have to dig through bags, pull out a card, or even worry if your iPhone battery dies. Tap, pay, and go. That’s the kind of convenience that makes people actually start using Apple Pay for everything.

How Apple Watch Works with Apple Pay
Even without your iPhone, your Apple Watch stores a secure version of your payment info right on the device. When you tap to pay, it communicates directly with the payment terminal using NFC, so it doesn’t need Wi-Fi or cellular data. Quick, safe, and totally hands-free.
✨Pro Tip: Make sure your Watch is locked and secured with a passcode—so payments are safe.
What You Need Before Setting Up Apple Pay
Before setting up Apple Pay, make sure you have:
- An iPhone 6 or later with iOS 11 or later
- A debit or credit card from a bank that supports Apple Pay
- Your Apple ID signed in to iCloud
If you’ve got all that, you’re ready to go.
How to Set Up Apple Pay on iPhone
Here’s how to set up Apple Pay on iPhone step by step. Even if you already have Apple Pay on your iPhone, it’s worth following along so your cards are ready to use with your Apple Watch too.
- Open Wallet App.
- Get Started With Apple Pay screen will display, select ADD button.
- Tap Continue.

4. Add Your Card: You can either scan your card using your camera or enter the details manually

5. Verify with Your Bank. Your bank may ask for extra verification, like a text or email confirmation.
6. Start Using Apple Pay. Once your card is added and verified, you’re ready to go.
👉 Quick tip: You can add multiple cards. Just repeat the steps if you’d like both your debit and credit card available in Wallet.
How to Set Up Apple Pay on Apple Watch
Now for the fun part—your watch! How to set up Apple Pay on Apple Watch is just as simple as your iPhone, and once it’s ready, you can pay securely without even having your iPhone nearby. Your wrist becomes your wallet!
- On your iPhone, open the Watch app.
- Tap Wallet & Apple Pay.
- You’ll see the same cards you’ve already added to your iPhone.
- Just tap Add next to the card(s) you want on your Watch.
- Follow any quick verification steps from your bank (if needed).

Now I’ll show you how to use Apple Pay in Stores, Apps and online.
How to Use Apple Pay In Stores, Apps, and Online
So you have set up Apple Pay, but how do you use it? It’s quick and simple, both in a store or online.
Stores
- Double-click the side button on your iPhone or Apple Watch (or home button on older models).
- You’ll be prompted for Face ID, Touch ID, or passcode.
- Hold your device near the reader.
- You’ll get check mark on the screen showing it was approved.

Apps or Online
Look for the Apple Pay option at checkout.
- Tap on Apple Pay as your payment method.
- You may need to enter your billing address or it may be filled out for you already.
- Double Click the side button on your iPhone and you’re done.

No fumbling for cards. No typing 16-digit numbers. Just tap, glance, and go.
Tips for Using Apple Pay Safely
If you’re new and just learning how to set up Apple Pay, here are a few tips to keep it secure:
- Stick to cards from banks you trust.
- Turn on two-factor authentication for your Apple ID.
- Check your statements now and then—just to be safe.
- If you ever lose your device, use Find My iPhone to lock or erase it remotely.
👉 Want a deeper dive into security? Read my full guide: Is Apple Pay Safe? What You Need to Know Before You Tap.
⚠️ Be Prepared: What If Your iPhone Ever Gets Lost?
Even with Apple Pay set up securely, it’s always smart to know what to do if your iPhone ever goes missing. I’ve created a step-by-step guide (with a free printable checklist) so you’ll be ready just in case.
👉 Lost iPhone? What to Do Now And How to Be Prepared Next Time (+ Free Emergency Checklist)
Troubleshooting Apple Pay Setup
Sometimes, little hiccups happen. If you run into problems during Apple Pay setup, try these fixes:
- Make sure your device is updated to the latest iOS or watchOS.
- Double-check that your bank supports Apple Pay.
- Restart your iPhone or Apple Watch.
- Remove the card from Wallet and try adding it again.
Most issues are minor and can be fixed in just a few minutes.
✨ Still having trouble? Don’t worry—I’m putting together a post next week all about the most common Apple Pay problems (and how to fix them quickly). Stay tuned!
Final Thoughts
Now that you know how to set up Apple Pay on iPhone and Apple Watch, you’ll never be caught without a way to pay. If you haven’t tried your Apple Watch yet, give it a go—you might be surprised how handy it is!
Whether you’re at the grocery store, shopping online, or grabbing a coffee on the go, Apple Pay makes it quick, safe, and stress-free. Once you try it, you may find yourself leaving your physical wallet at home more often than not. 😉
And if you’ve enjoyed this post, stick around! I share new iPhone guides, tricks, and step-by-step tips every week. Subscribe below and follow me on Facebook and Instagram so you never miss out.

Gail Kerr
IT Professional and Technical WriterTechnology has been part of my life for as long as I can remember. With over 27 years of experience providing computer support in both large corporations and small businesses, I’ve seen just about everything. In 2009, I went back to school to earn an Associate Certificate in Technical Writing—combining my love of tech with a passion for clear, easy-to-understand communication. Now, I help people of all levels feel more confident with their devices. I’ve also become the go-to person for friends and family whenever a tech question or challenge comes up.